
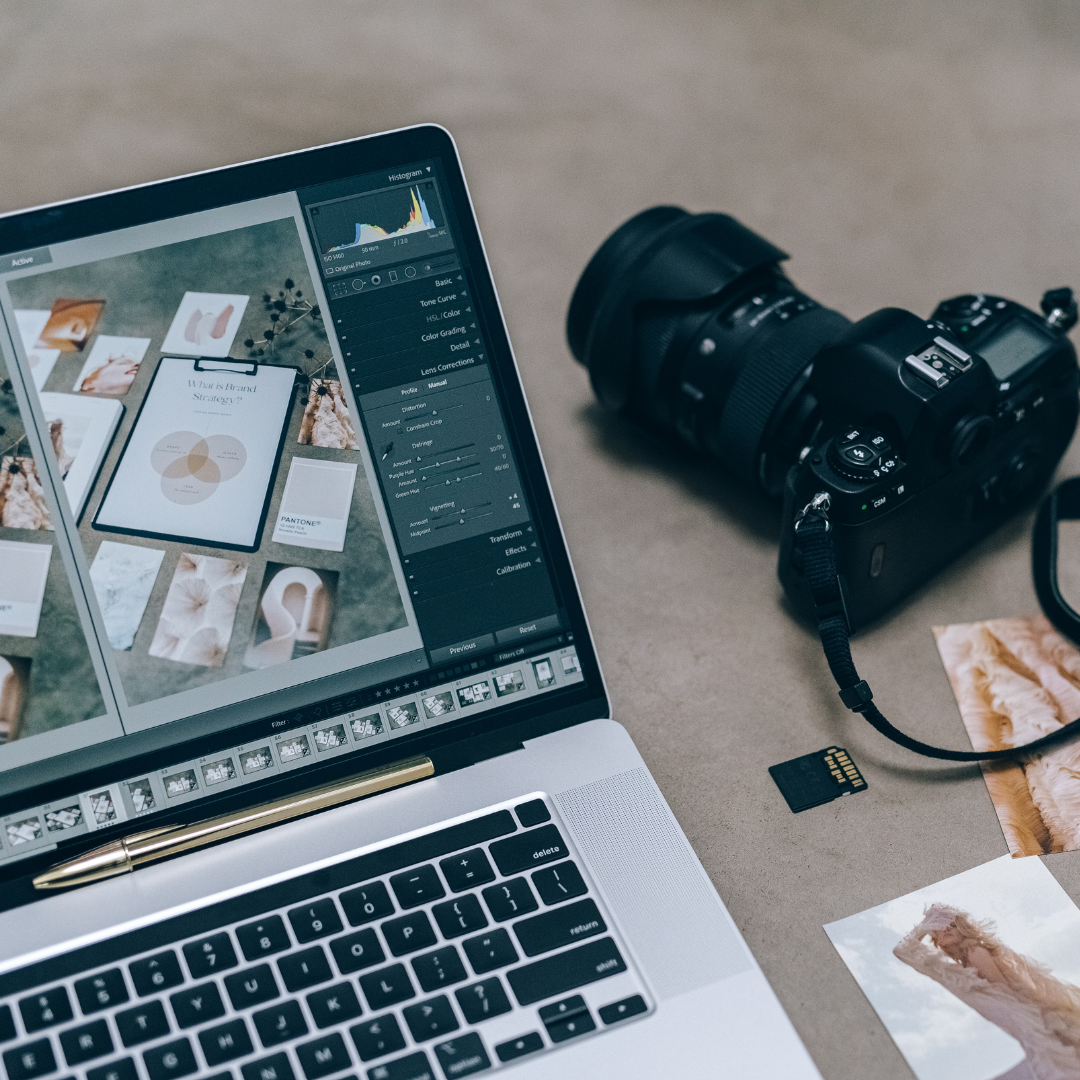
There are many different ways to edit photos. There are filters, retouching, and editing with photo apps that can create an entirely new picture you’re proud to show off. If you want advice on how to make your photos look their best, this article has 7 helpful tips for you to use.
1. Find a Good Editing Program
When you’re ready to start editing your photos, there are a few things to keep in mind. First, find a good editing program that suits your needs. Be sure to practice and learn the basics of editing before starting to work on more complex projects.
You must also be patient. Editing photos can take some time and effort. Remember that no matter what editor you use, it’s always important to test your edits on a sample photo before actually applying them to your entire album or collection.
2. Make Sure Your Photos Will Still Be Viewable After They Have Been Edited
Time is an important factor when it comes to photos. Editing them can take a long time, so it’s important to make sure that the photos will still be viewable after they have been edited.
First, make sure the photos are in the correct file format. Photo editing software can only manipulate files in a certain format, so if your photos are not in this format, they will not be able to be edited properly.
If you aren’t sure which file format your photo is in, there is a good chance that it is in a JPG or PNG format. If your photo is not in one of these formats, you will need to convert it before you can edit it. There are many free online tools available that can do this for you.
You must also edit the photos on a large screen. If you’re going to be editing a lot of photos at once, it’s best to do it on a large screen so that everything looks easier and more organized. This way, you’ll also have more space to move around and edit the photos as needed.
3. Use a Fresh and Clean Program
If you want to take your photography skills to the next level, there are a few things you can do. One of the most important steps is to use a fresh and clean program.
One of the biggest mistakes people make when editing their photos is using a program that is already full of photos. This will not only affect how your photos look, but it will also corrupt the data on your hard drive. If you have pictures from last year or even months ago stored in an old program, it’s time to find a new one.
4. Make Sure Your Photos Are in the Correct Order
Start with the photo that is most important to you. This is usually the one that you took of yourself or the one that is most representative of your subject matter.
Use the tools on your editing software to fix any mistakes or damage done to this photo during editing or capture. If other photos need to be edited with the first photo, choose those next. Continue fixing them until all your photos are complete.
Finally, choose your final photo. Make sure it meets all your desired standards before saving it for later use.
5. Use a Highlighter To Emphasize Key Points
If you’re looking to make some key changes to your photo’s color, or just want to emphasize certain points, using a highlighter can be a great way to go. You can use different colors to highlight different parts of the photo, depending on what you want to emphasize.
For example, if you want to highlight a specific part of the photo that you think will look better in a different color than the rest, use a yellow highlighter. If you just want to add some brightness and contrast to an image, try using a white or light blue highlighter.
Whatever color you choose, be sure to use moderate pressure when applying it. This way, it doesn’t smudge or bleed into other parts of the photo.
Finally, be sure not to overdo it. Depending on the color you choose, too much highlighting could make your photo look negative instead of positive.
6. Consider Cropping Your Photo Before Editing
Cropping a photo is one of the most basic photo editing tasks you can do. It can help you to improve the composition of your picture and remove distractions.
There are a few different ways to crop a photo. You can use the default crop tool in Photoshop or another photo editor. This method is the easiest and most common, but it doesn’t offer as many options as some of the other tools.
You can also try an image resizing program like GIMP or Photo Editor Pro. GIMP lets you resize the image without losing quality, but it requires a bit more know-how. Photo Editor Pro is free and easy to use, but it doesn’t allow for as much control over the final product.
There are also free online tools like Picasa or Google Photos that you can use for cropping. This option is best if you want to create a custom-cropped image that exactly matches your specifications.
7. Save Your Edited Photo to Your Computer in a Different File Format
When you’re done editing your photos, it’s important to save them in a different file format. This is so that you can keep them safe and easy to access. Here are some of the most common file formats: JPEG, PNG, GIF, and BMP.
JPEG is the most common photo format because it’s compression-friendly and can be stored on a variety of devices. PNG is similar to JPEG but supports transparency which can be helpful when printing your photos.
GIF is a vector image format that can be animated or used for logos. BMP is the most common bitmap image format and can be used for printing or online sharing.