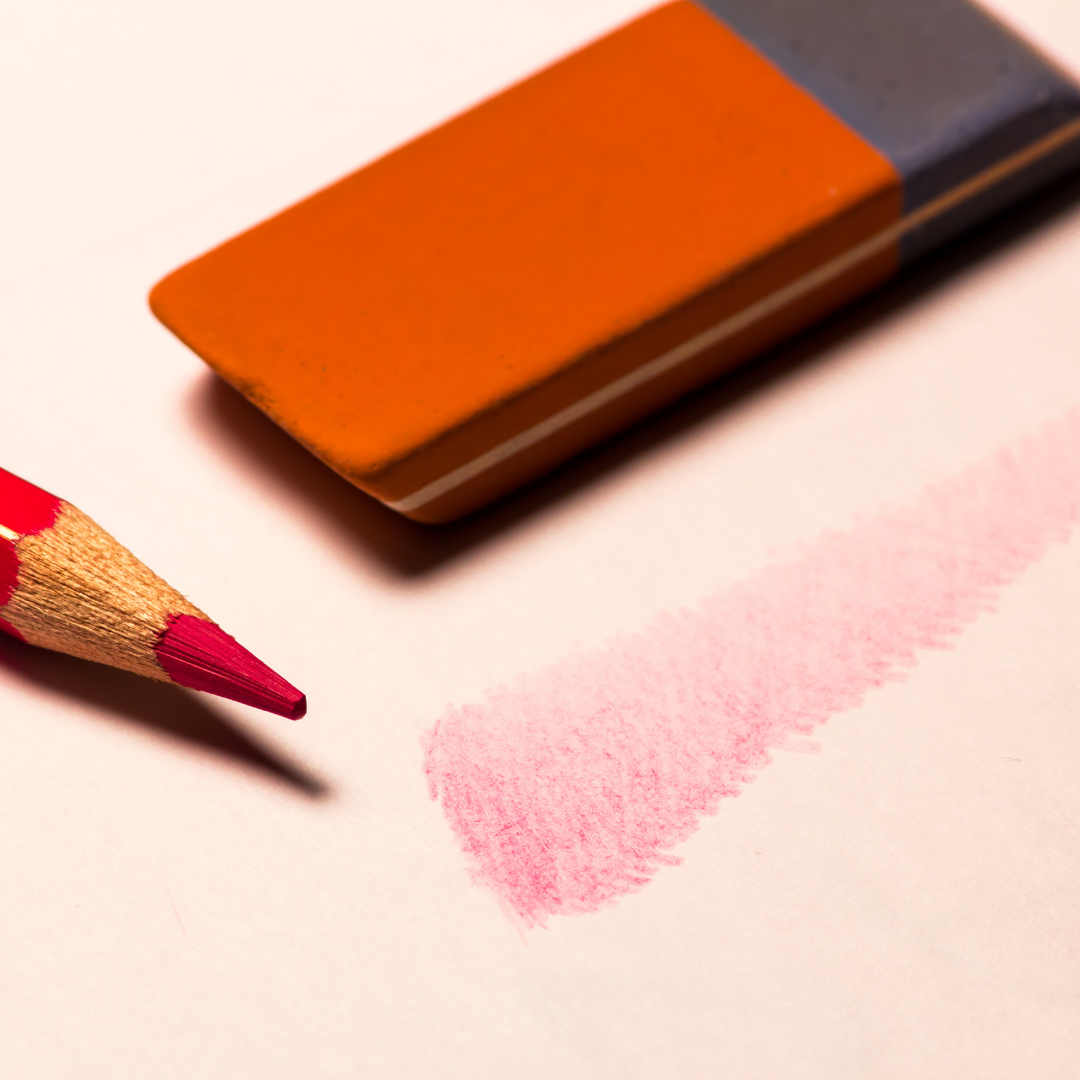
Most people understand why to use a pencil when drawing, but not everyone knows how to shade with a pencil. Using pencils to shade can be a great way to get the shading you desire. It is easy to get a good effect without having to spend hours on a computer or tablet. If you are always drawing or painting outdoors, this is a good way to take advantage of the natural daylight to help you get your drawings just right.
How hard is it to shade with pencils? If you’ve ever tried to shade with pencils, you know how hard it is. The sheer pressure required to shade with pencils is overwhelming. Just ask any of us who have tried our hand at shading with pencils. The pressure is all in the grip, and without a firm, confident grip, your lines are probably going to look all wavy and weird. But what if you could draw with pencils in the same way you draw with a pencil? The same way I would draw with a pencil? The answer is you can! Here are some tips for you to improve your pencil shading.
• Most artists say to keep the tip in contact with the paper, but this is a difficult pose to maintain. You can hold the pencil straight up and down, but the shaft is too thick to shade with. You can hold the pencil at a slight angle, but it’s difficult to push the pencil through the paper without smudging it. Lastly, you can hold the pencil at a steep angle, but the middle of the pencil is too narrow to shade with.
• The basic concept of shading with pencils is simple. Draw the darkest area (usually the darkest area of your drawing), and then shade in the lightest area (usually the lightest area of your drawing). If you’re using a hard lead pencil, you can get away with only shading the darkest area, since the darker the area, the harder the lead will be to erase. However, if you’re using a soft lead pencil, you can shade the lightest area, and then erase the lighter area.
A little tip would be, before shading the darker color in, use a drop of colored water to dampen the tip of the pencil. This will soften the tip a bit, making it easier to shade the lighter color without it sneaking in. When using colored pencils, make sure to sharpen regularly, so that the tip is always sharp and ready to shade.
• The process of burnishing is an art form that many of us wish we could master. This technique is one of the most important ways to finish your drawing, and it is where you can add graceful lines to your line art. The technique is commonly performed with a dry lead pencil, but there are many ways to achieve the same result with a regular pencil or pen. There are a lot of ways to burnish your work. You can use a flat burnisher, you can use a brush, you can use your finger, or even use a pencil. However, you do it, burnishing your work is a great way to clean up any accidental marks that may have been left on your piece.
• If you are using pencil or charcoal to shade on your artwork, you are probably using white or gray pencils. Scratch that! Using these pencils is a mistake because they are too light. Colored pencils are much better because they are made with a pigment that is only slightly lighter than the surrounding area. This produces a much more realistic effect.
When you’re working with a limited palette, it’s easy to fall into a black-and-white mindset. Many beginning artists have a temptation to use black and white pencils for shading. This is because you can get a very good result when you use a dark grey pencil to darken areas, and a white pencil to lighten areas. You can also use the same technique with a medium grey pencil and white pencil. Unfortunately, your shading may not look as good if you use these same three pencils to create all the values (hues) in your shading.